
Last updated November 4, 2026
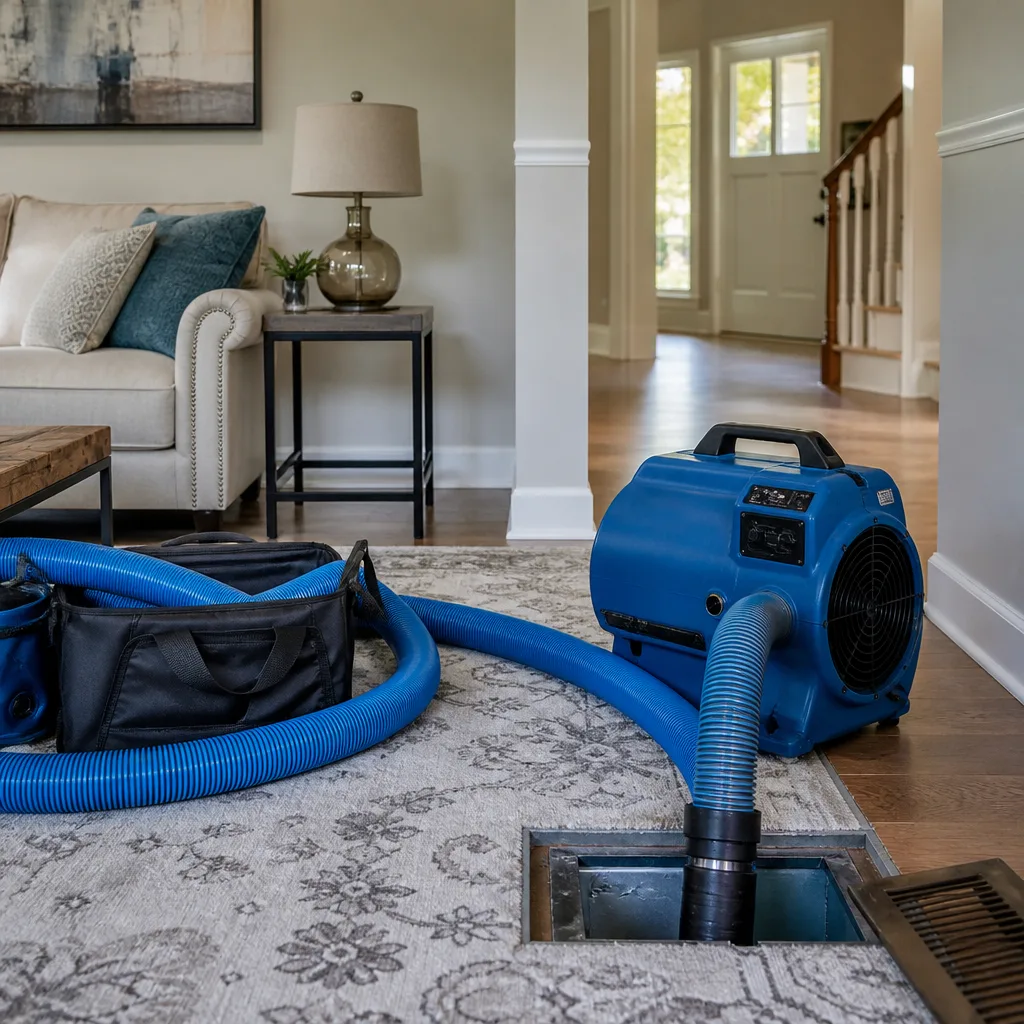 Whole-home duct cleaning
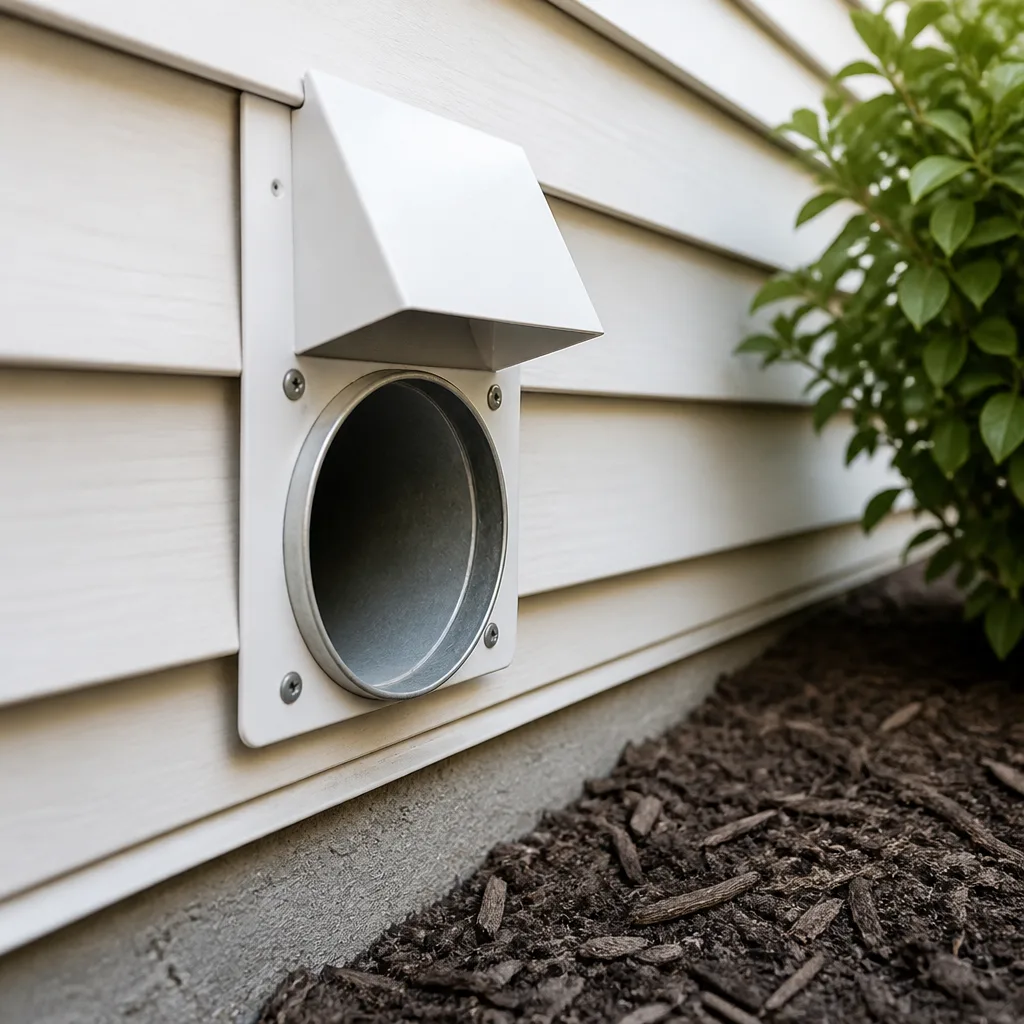 Dryer vent cleaning
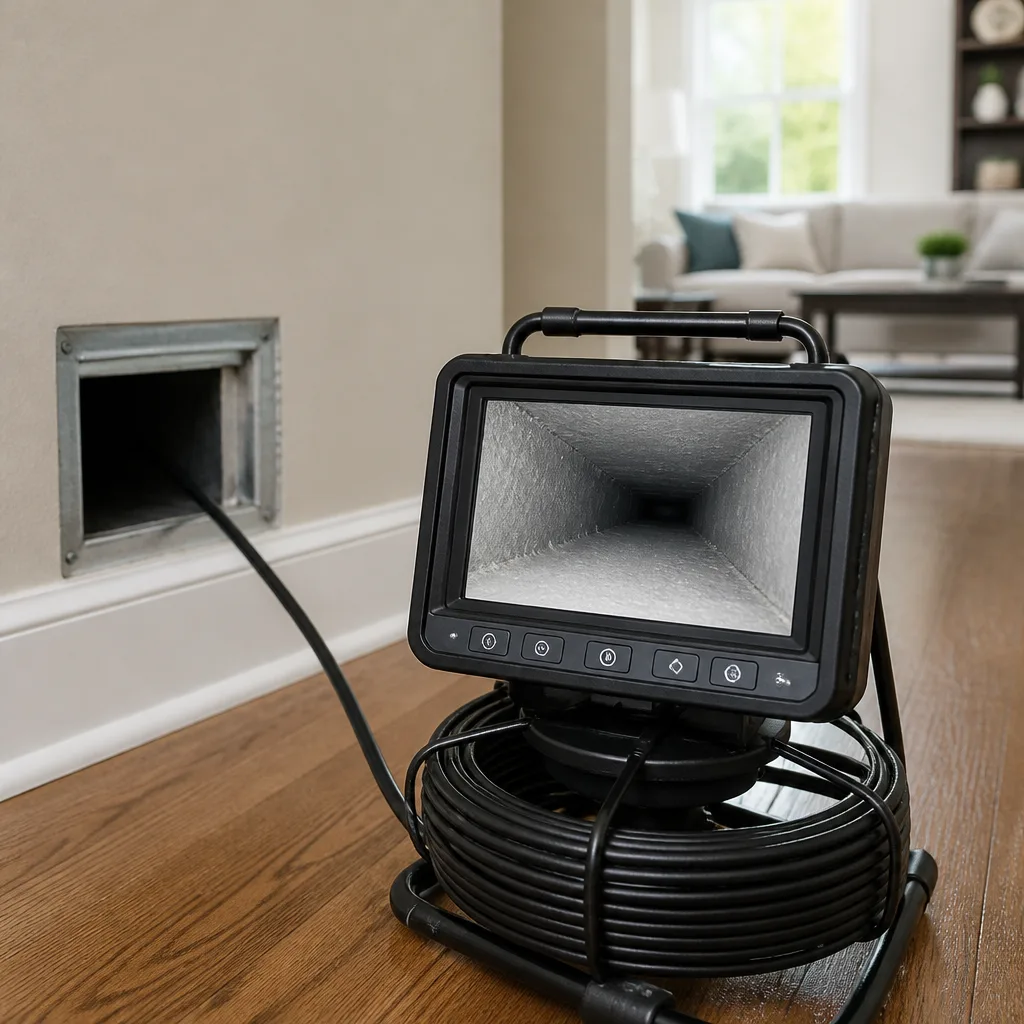 Camera inspection
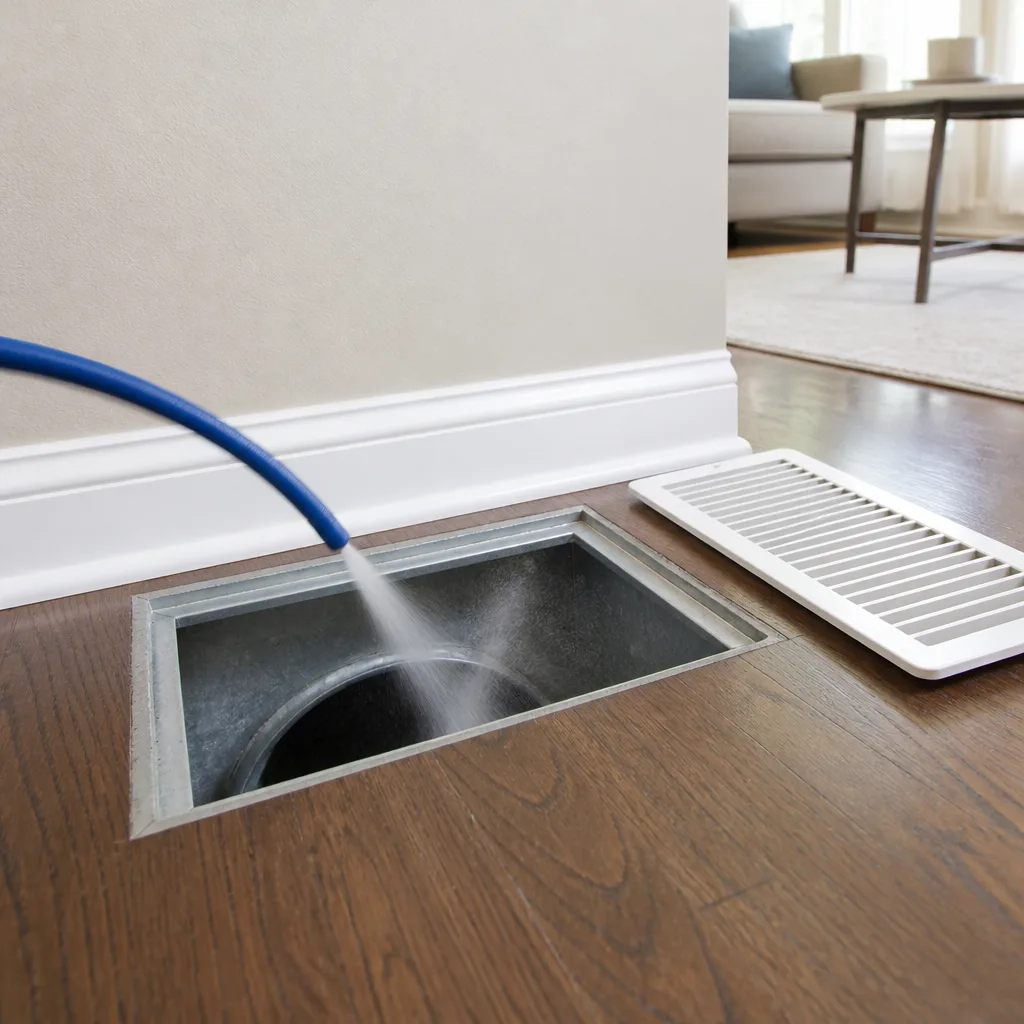 Sanitizing & deodorizing
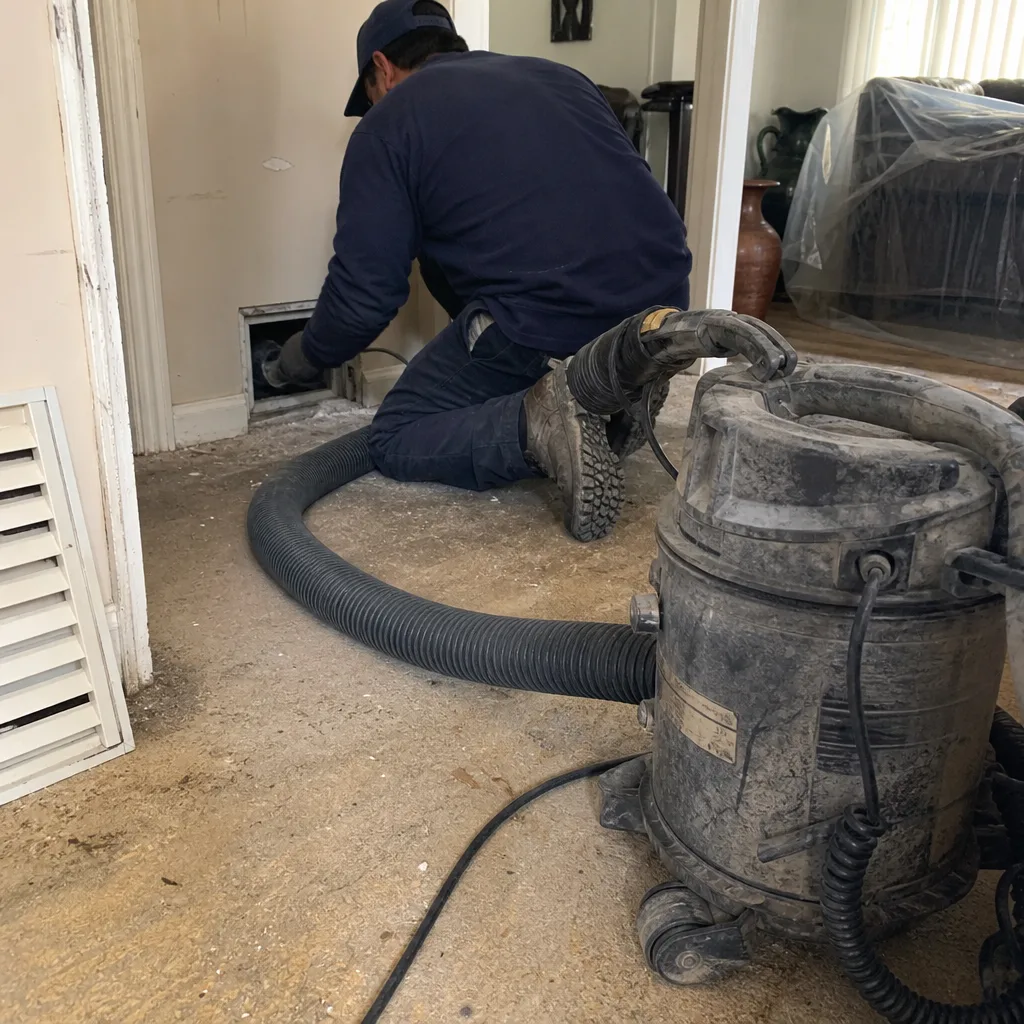
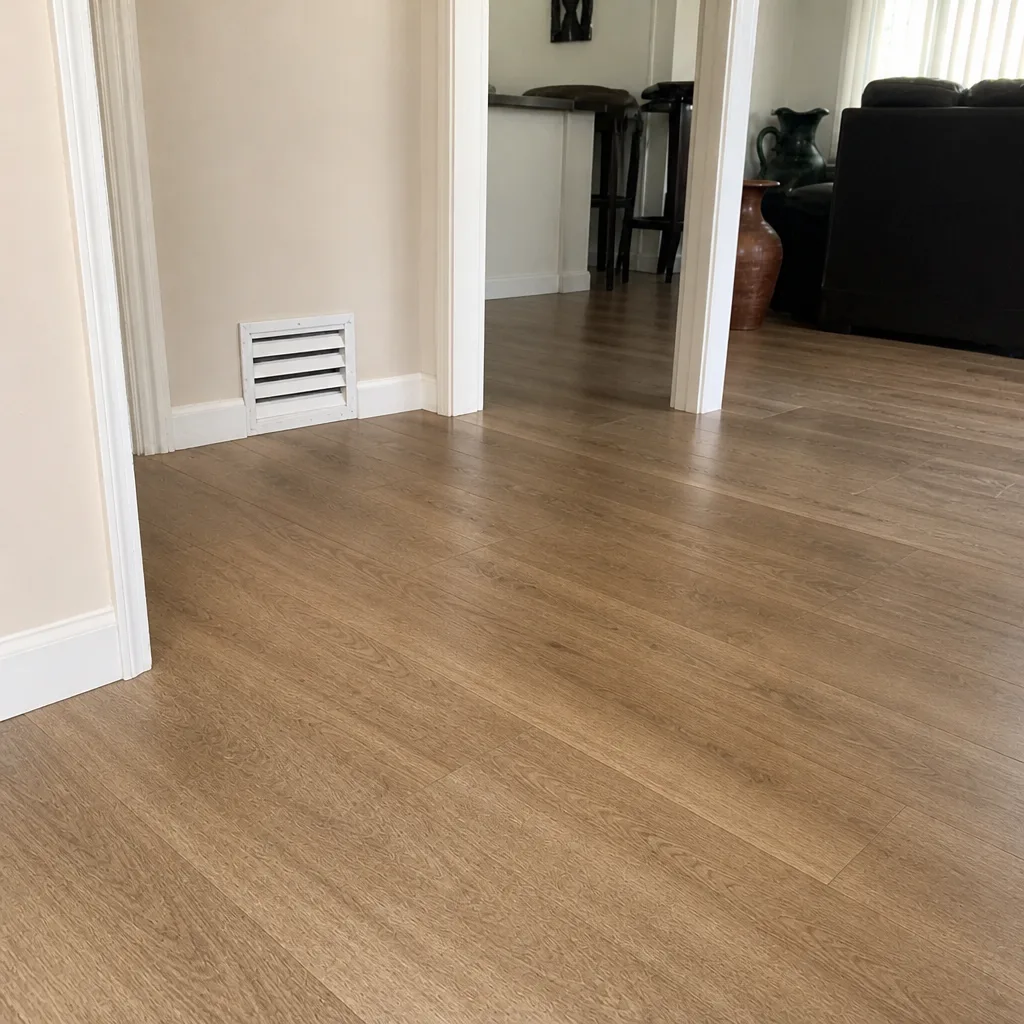
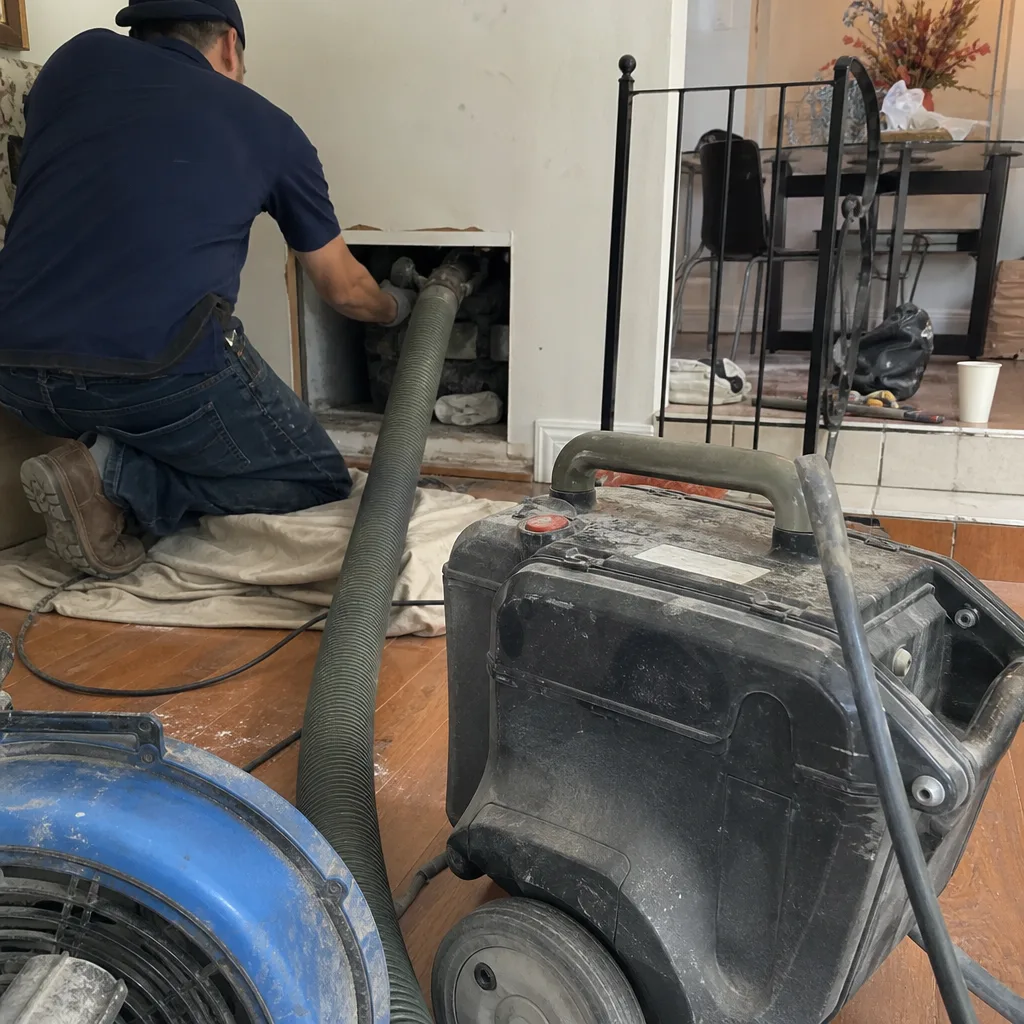
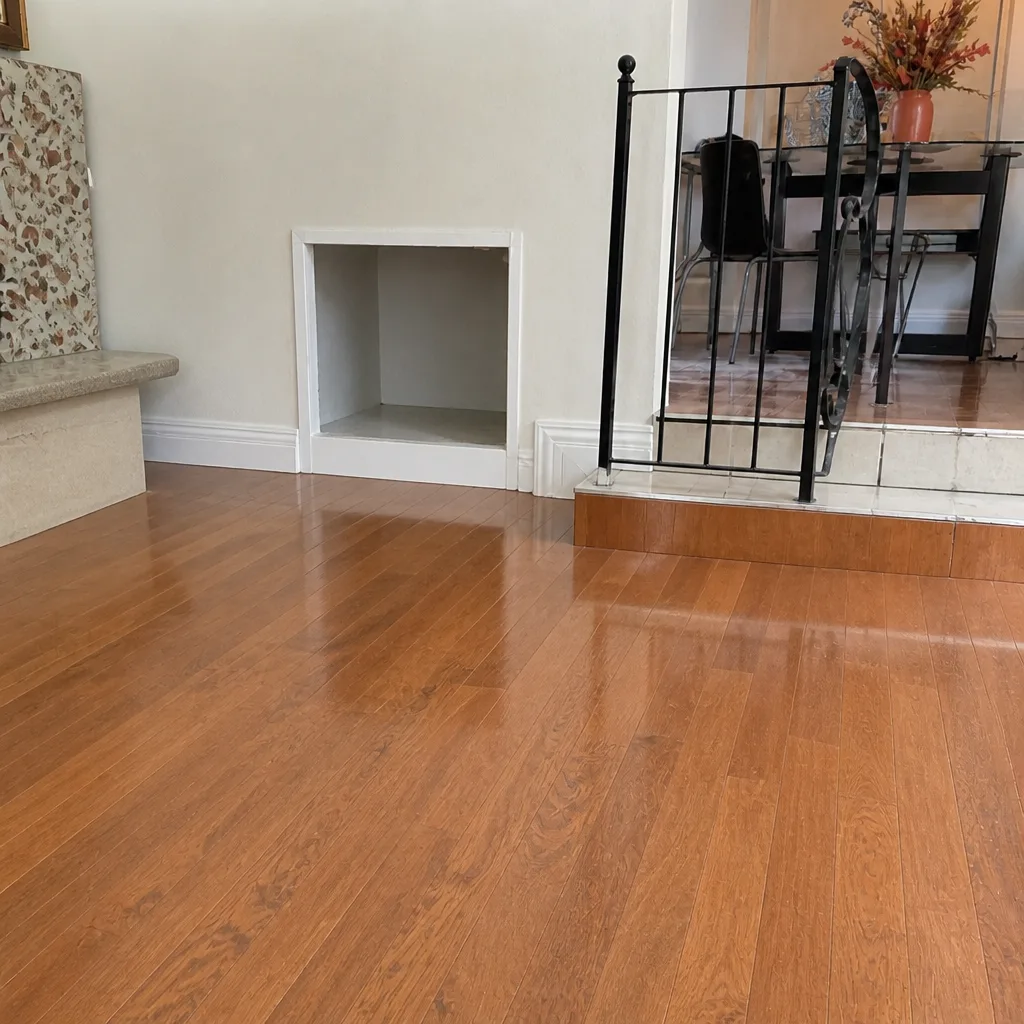
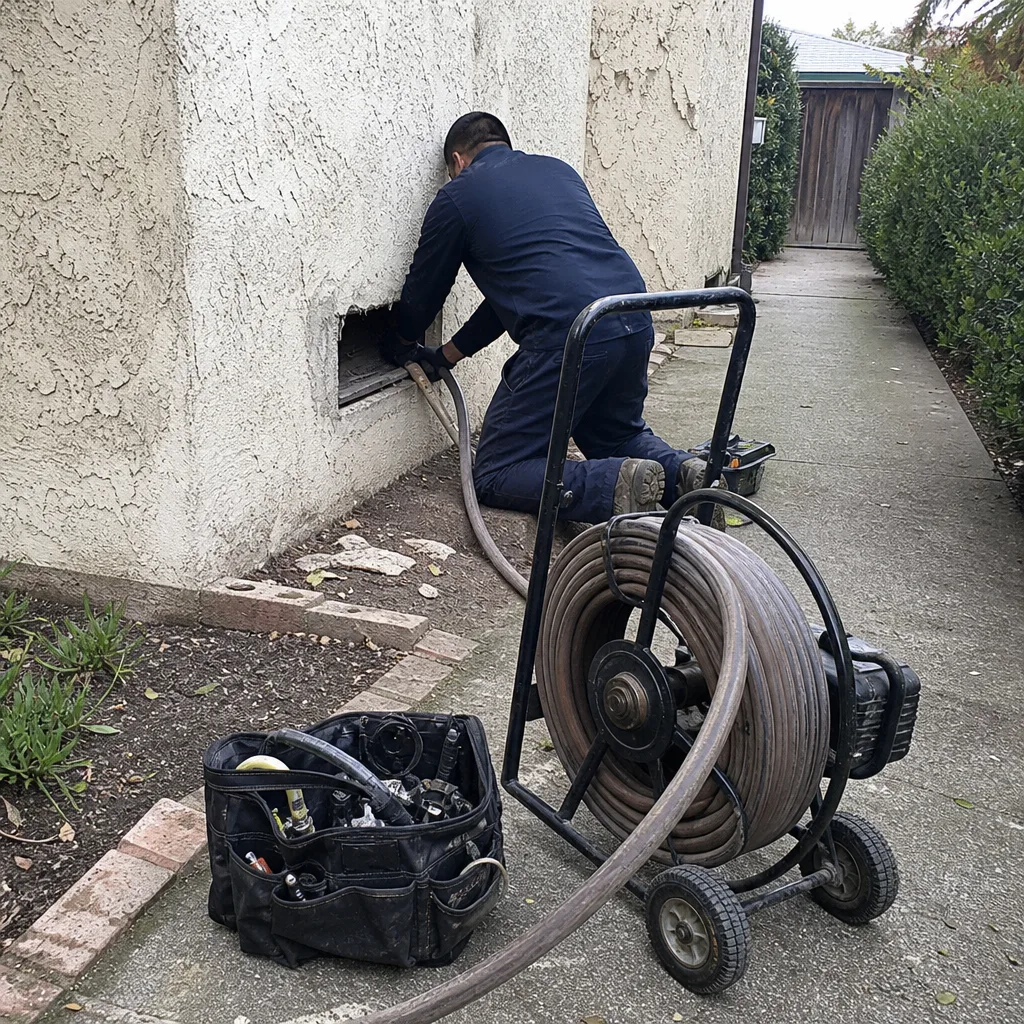
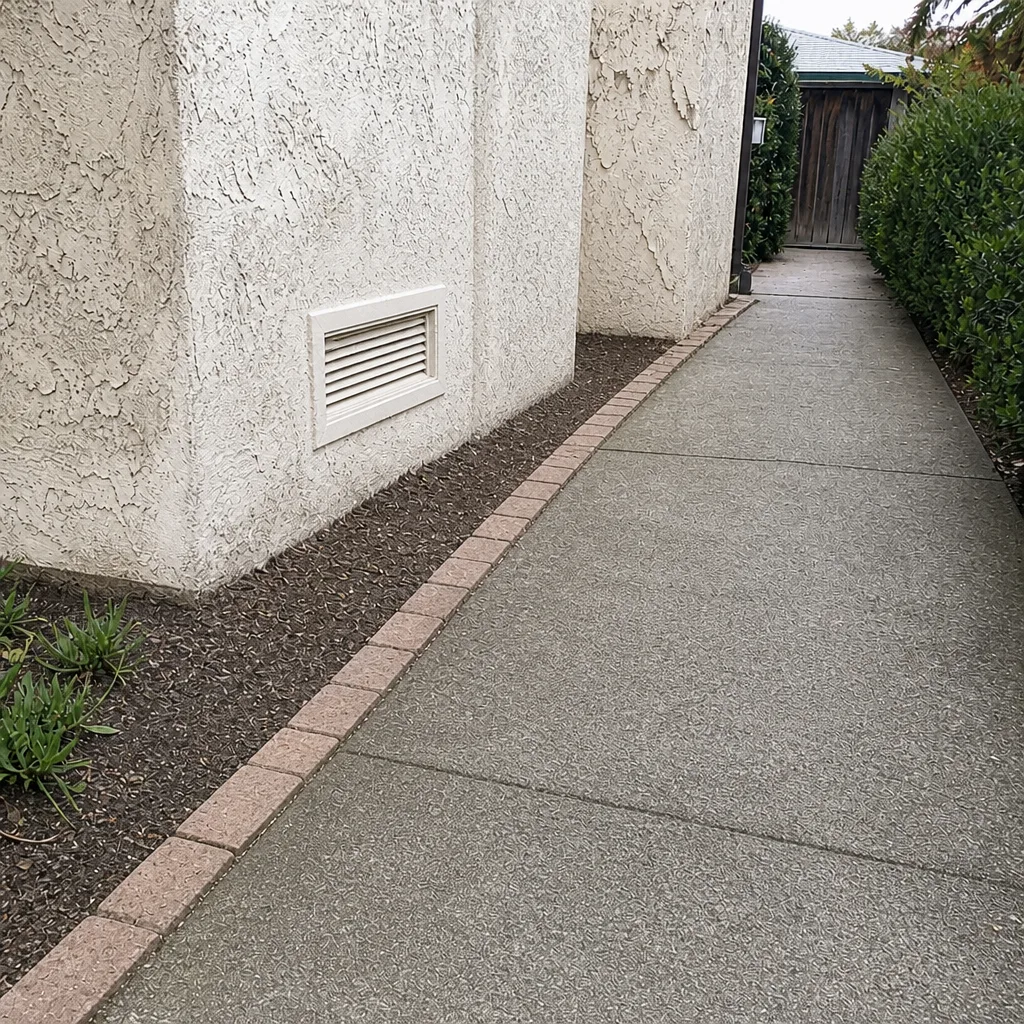
Whole-system duct and dryer vent check with before-and-after photos - you see exactly what came out of your vents
That "$99 whole-house special" is a bait ad - the real number appears once they are in your hallway, or the "clean" is a shop-vac at the register. We photograph the inside of your ducts before and after instead.
Air Duct Cleaning Maintenance Checklist for North San Jose Homeowners
Most homeowners in North San Jose are either cleaning their ducts too often because a coupon told them to, or not often enough because nobody ever showed them what “dirty” actually looks like. That swing between overservicing and neglect exists because duct maintenance is usually framed as a calendar task instead of an observation task. This guide replaces the guesswork with a monitoring system: specific things to look at, where to look, and what each observation actually means. You’ll learn how to read your return-air filter like a diagnostic tool, how to tell mold risk from ordinary dust, and which North San Jose conditions genuinely push a duct inspection earlier than the national average. By the end, you’ll have a checklist that saves you money by telling you when intervention is needed and when it isn’t.
Styles & brands we work with
- Whole-home duct cleaning
- Dryer vent cleaning
- Camera inspection
- Sanitizing & deodorizing
Quick Answer
An air duct cleaning maintenance checklist for North San Jose homeowners should be organized around observation, not arbitrary time intervals. Monthly, check your return-air filter and a few supply registers for dust accumulation patterns. Every six months, inspect the air handler cabinet, look for moisture staining around registers, and note whether airflow from vents feels weaker than last season. A full professional air duct cleaning is typically warranted every 3 to 5 years, sooner if you’ve had renovation work, a wildfire smoke season, or a new HVAC installation. Log everything you observe after any professional service so the next inspection has a documented baseline.
Table of Contents
- Why Calendar-Based Cleaning Schedules Fail
- The Monthly Five-Minute Check
- The Semi-Annual Inspection: What to Look For
- The 3 – 5 Year Professional Service Tier
- How to Read a Return-Air Filter’s Debris Pattern
- Mold Risk vs. Normal Dust: Visual Indicators at Supply Registers
- What to Log After a Professional Cleaning
- North San Jose – Specific Triggers That Move Up an Inspection
- Common Mistakes to Avoid
- When to Call a Professional
- Frequently Asked Questions
- The Bottom Line
Why Calendar-Based Cleaning Schedules Fail
Every duct system in North San Jose accumulates debris at its own rate. A two-bedroom condo near the 880 corridor with two occupants and a well-sealed return path might go six years between cleanings and still look respectable inside. A four-bedroom house in Berryessa with shedding pets, a renovation last summer, and windows open during wildfire season might need service in under three. Any schedule that ignores those variables is guessing.
The problem with “every X years” advice is that it trains homeowners to trust a number instead of their own eyes. You don’t need anyone to tell you when your ducts are dirty. You need to know what dirty looks like, where it collects first, and which signs mean “monitor this” versus “call someone this week.” A checklist built on observation gives you that. It also gives a professional cleaner something far more useful than a date: a history.
Ducts fail silently. Unlike a water heater or a roof, they don’t announce problems loudly. Debris compacts inside trunk lines you cannot see. Moisture condenses in sections you didn’t know existed. Airflow declines a few percent at a time, season over season, until one day the far bedroom just doesn’t stay comfortable and nobody remembers when that started. Observation is the only tool that catches these changes early.
The Monthly Five-Minute Check
This is the tier most checklists skip, and it’s the one that matters most. Once a month, you spend five minutes looking at three things. If you do nothing else from this guide, do this. It catches problems early enough that deeper inspections are rarely surprises.
Steps:
- Check one return-air filter. Pull the filter from its slot and hold it up to light. You’re looking for two things: how much light passes through, and whether the debris on the intake side is evenly spread or concentrated in one area. A uniform coating is normal. A clean filter with a heavy dark patch in one corner suggests something upstream is shedding into a specific path inside the return trunk.
- Wipe a fingertip across three supply registers. Pick three vents in different rooms, ideally one near the air handler and two far from it. A light gray film is normal household dust. A black or greenish stain that smears when touched is moisture-related and needs a closer look this week, not next month.
- Listen to the system at startup. Stand near the air handler when the blower kicks on. You’re listening for a sudden rattle that fades, a thump from the ductwork, or a whistle that wasn’t there last month. Any new sound means something changed physically inside the system.
That’s it. Five minutes, three observations, done. Log anything unusual in a note on your phone so the semi-annual check has context to compare against.
The Semi-Annual Inspection: What to Look For
Twice a year, ideally in spring before cooling season and in fall before heating season, spend about twenty minutes on a deeper pass. The spring check matters more in North San Jose because cooling season is when condensation introduces moisture to a duct system, and moisture is the variable that turns ordinary dust into a biological problem.
What to inspect:
- The air handler cabinet. Open the access panel (power off first). Look at the blower wheel blades. A dull gray coating is normal. A fuzzy or greasy buildup is not. Also look at the evaporator coil if it’s visible. Coil fins packed with gray matting mean unfiltered air has been bypassing the filter for a while.
- Supply register faces in bathrooms and the kitchen. These rooms introduce humidity into the air stream. Look for any darkening at the outer edges of the register face where it meets the ceiling or wall. Condensation leaves a ring that doesn’t dust off.
- Flex duct runs in the attic or crawlspace. If you can see them, look for sagging sections. A flex run that droops collects debris in the low point and restricts airflow even if the interior is clean.
- Return-air grille screens. Pull the grille off and look behind it. This is where you’ll see the first evidence of a return path pulling from a dirty cavity rather than from the conditioned space.
If all of these look unremarkable, your system is telling you it doesn’t need service yet. That’s a valid finding. A checklist that says “nothing to report” is working correctly.
The 3 – 5 Year Professional Service Tier
For most North San Jose homes, a full professional cleaning every three to five years is the right rhythm. That range exists because the North San Jose housing stock varies enormously: mid-century single-family homes with rigid metal ducts age differently than 1990s tract homes with flex runs, which age differently than recent condominium builds with short, well-sealed duct layouts.
A professional cleaning is not a deeper version of the semi-annual check. It’s a different procedure entirely. Rotary-brush systems physically dislodge debris that has compacted onto duct walls over years. A HEPA-rated negative-air vacuum captures that debris at the point of disturbance rather than recirculating particulates into the living space. This is equipment you cannot rent meaningfully and should not improvise. The distinction matters: a shop vac at a register opening removes loose surface dust. It does not address the adhered layer that holds moisture, harbors biological growth, and restricts airflow through the trunk.
The practical question is when to move from the “not yet” category to the “schedule it” category. Here’s what pushes a system into the service window:
- The return filter is loading visibly faster than it did a year ago, suggesting more debris is circulating.
- Dust reappears on furniture within a day or two of cleaning, and it’s not explained by open windows or pets.
- Airflow from the farthest register is noticeably weaker than from the nearest one, even with all dampers open.
- You can smell a musty or stale odor when the blower first starts, and it fades after a few minutes.
- The last professional service was more than five years ago and you have no baseline log of what was found.
If you’re in the 3 – 5 year window and none of those conditions are present, you can reasonably defer. The checklist has done its job: it saved you a service call you didn’t need.
How to Read a Return-Air Filter’s Debris Pattern
A return-air filter is a map of your duct system’s health. Most people just look at how dirty it is. The more useful question is how it got dirty. The distribution of debris on the filter face tells you where it came from, which tells you what’s happening upstream in the return trunk.
Here’s how to read what you’re seeing:
- Even, uniform coating across the full filter face. This is the normal pattern. Air is entering the return path evenly across the home, and the debris is ordinary household dust: fibers, skin cells, lint. The filter is doing its job.
- Heavy loading in one quadrant or corner. That quadrant corresponds to the portion of the return plenum that draws from a specific branch. Somewhere in that branch, there’s a source shedding more than the rest of the house. Common culprits: a return grille pulling from a musty wall cavity, a deteriorated flex duct inner liner, or a damper stuck partly closed that’s concentrating airflow through one path.
- Dark, smeary staining rather than dry gray dust. Moisture is reaching the filter. That can come from a condensation problem at the air handler, a return duct drawing humid air from a crawlspace, or a bathroom exhaust that’s backdrafting into the return path. Dry dust is a nuisance. Dark smears are a warning.
- Filter looks clean but the house is dusty. The filter isn’t catching anything, which usually means air is bypassing it. Check the filter slot for gaps around the edges. A quarter-inch gap around a filter lets a surprising volume of unfiltered air through. The filter has to seat tightly, every edge. If it doesn’t, that’s a repair item, not a cleaning item.
One caution: do not over-inspect. Checking the filter monthly is useful. Pulling it out weekly and studying it will not reveal anything new. The debris pattern changes over weeks, not days. Monthly is the right cadence.
Mold Risk vs. Normal Dust: Visual Indicators at Supply Registers
This is the distinction people get wrong most often. A dark ring around a supply register sends a lot of North San Jose homeowners into mold panic when what they’re actually seeing is ordinary dust shadowing. Knowing the difference saves you an unnecessary remediation estimate or, worse, lets a genuine moisture issue go unaddressed because you assumed it was normal.
Normal dust accumulation looks like this: a light-to-medium gray or tan film on the register blades and the ceiling area immediately around the opening. It’s dry. It brushes off easily with a dry cloth. It’s often slightly darker in the direction of airflow, because the air leaving the register carries particulates that deposit on the first surface they contact. If you wipe it and it leaves a dry gray streak on the cloth, it’s dust.
Mold risk indicators look different:
- The staining is black, dark green, or brown, not gray.
- It appears on the register face itself and on the ceiling or wall surrounding the opening, often spreading outward in a ring.
- It feels damp or tacky when touched, or it smears when wiped rather than brushing off dry.
- It reappears in the same spot after you’ve cleaned it thoroughly, within days or weeks.
- It’s accompanied by a persistent musty smell that’s strongest right at the vent, not throughout the room.
The reason supply registers are where moisture problems show up first is simple physics. Cooled air leaving the register lowers the temperature of the metal register face. If the room air is humid enough, condensation forms on that surface. Over months of cooling seasons, that condensation repeatedly wets the surrounding drywall or plaster. Dust that gets wet and stays wet is the substrate biological growth needs. In North San Jose’s cooling season, which runs long and hard, bathrooms and kitchens are the highest-risk rooms because they introduce the most humidity into the indoor air.
If you see the dry, dusty pattern: note it, clean it, and keep the monthly checks going. If you see the damp, smearing, recurring pattern: call someone who can inspect the duct interior and the air handler. This is also where the equipment question becomes real. An inspection that uses a camera to see inside the duct is different from a cleaning that just runs a brush through. At Elmwood Air Duct Cleaning, we prefer to show you what we’re seeing, because the visual record is what makes the next decision obvious.
What to Log After a Professional Cleaning
The single most useful maintenance document a homeowner can keep is a simple post-service log. Not a receipt. A one-page record of what was found and what was done. This log becomes the baseline that every future inspection compares against, and it’s what turns vague worries into measurable trends.
After any professional duct service, log these items:
- Service date and system age. Write down the date and the approximate age of the HVAC system and ductwork. Future you will not remember this accurately.
- What was found before cleaning. Ask the technician to describe what they saw inside the ducts before starting: debris type, debris depth, any moisture evidence, any biological growth, any damage to duct walls or connections. Write it down in their words. “Heavy gray fibrous debris in main trunk, moderate in branch runs, no moisture evidence” is a baseline. “Dirty air ducts” is not.
- What was done. Which equipment was used, whether any duct sections were repaired or resealed, whether any dampers were adjusted, and whether the blower and coil were cleaned as part of the work.
- Filter details. What filter size, what MERV rating, and when it was last changed. Take a photo of a new, clean filter in the slot so you have a reference image for what “clean” looks like in your specific slot.
- Post-service observations. Three months later, note whether the return filter’s loading pattern changed, whether airflow at the far registers improved, and whether any smells or sounds are different. This tells you whether the cleaning addressed the actual problem or just the symptom.
Keep this log in the same place you keep your HVAC service records. When you call a professional for the next service, read the log over the phone. “Last cleaned in 2022, moderate debris in the trunk, no moisture found, filter loading has been faster since 2024” tells a technician more in thirty seconds than a ten-minute conversation would.
North San Jose – Specific Triggers That Move Up an Inspection
This part of Santa Clara County has three conditions that push duct inspections earlier than a generic national guideline would suggest, and if you’ve lived here for a full cycle of seasons, you already know what they are.
Wildfire smoke season is the biggest one. When smoke settles over the valley, it doesn’t just sit outside. It gets pulled into return-air intakes and pushed through the entire duct system. The fine particulate in wildfire smoke is small enough to pass through ordinary filters and deposit deep inside duct runs, on blower wheels, and on coil surfaces. One bad smoke season can load a duct system with a year’s worth of accumulation in a few weeks. If you had multiple smoke events during the summer and fall, consider an inspection even if you’re inside your normal service window. The filter you were running during the smoke tells part of the story: if it was dark brown or gray when you changed it mid-season, the ducts behind it likely took a share of that loading too.
Post-renovation debris is the second trigger. North San Jose has a steady churn of remodels and upgrades. Drywall dust is the most common contaminant, and it’s uniquely problematic: the particles are fine enough to stay suspended, abrasive enough to wear blower bearings over time, and alkaline enough to irritate airways. Any renovation that involved drywall sanding, flooring removal, or attic work should trigger an inspection before you run the system through a full season. Don’t rely on the general contractor’s plastic sheeting to have kept the return path clean. Return ducts are often in the same wall cavities that get opened during remodels.
New HVAC equipment installations are the third. A new air handler or furnace changes the airflow characteristics of the whole system. If the new blower moves more air than the old one, it will scour the existing ductwork and dislodge debris that had been sitting undisturbed for years. That debris ends up at the registers and on the new filter within weeks. If you’ve had new equipment installed and you’re suddenly seeing more dust at the vents, the ductwork wasn’t cleaned before the equipment went in, and now it’s paying out what it stored. An inspection and cleaning right after a new installation is cheap compared to running the new equipment with a fouled coil for a season.
None of these triggers is a reason to panic. Each one is a reason to look earlier than the calendar says.
Common Mistakes to Avoid
- Cleaning on a marketing schedule, not an observation schedule. If the only reason you’re thinking about duct cleaning is a postcard that arrived this week, you don’t have a maintenance plan; you have a reaction. Run the checklist first. Let what you see drive the decision.
- Assuming a new filter means clean ducts. A filter only catches what passes through it. Debris already adhered to duct walls stays there until someone physically removes it. A clean filter is necessary but not sufficient evidence of a clean system.
- Using the cheapest filter that fits. In North San Jose’s wildfire season, a fiberglass filter that’s basically transparent to fine smoke particulate offers almost no protection to the coil and duct interior. Use a filter with a real particulate rating, and change it more often during smoke events, not less.
- Ignoring one dark register because “it’s always been like that.” A recurring stain that you can’t clean off permanently is the one visual sign that most reliably correlates with a duct or air handler moisture problem. “Always been like that” means it’s been happening long enough to do whatever damage it’s going to do.
- Not photographing the filter slot before and after. Your memory of what a clean filter looks like in your specific system will fail you. A photo doesn’t.
- Treating dryer vents as a separate, optional category. The lint path from your dryer to the exterior is a duct, it accumulates debris faster than any other part of the system, and dryer vent cleaning is a safety task as much as an efficiency task. It belongs on the same checklist.
When to Call a Professional
Some findings on this checklist are informational. Others are action items. Call a professional when you see dark, smearing staining that reappears after cleaning; when airflow from the farthest registers has dropped noticeably and dampers are open; when the return filter shows a heavy loading pattern concentrated in one area that you can’t explain; when a musty smell persists at startup after you’ve changed the filter; or when you’ve had a wildfire smoke season, a renovation, or new equipment installed and you’ve never had the ducts inspected since. These are the scenarios where observation has done its job and the next step is a trained eye with the right equipment. Elmwood Air Duct Cleaning offers free estimates in North San Jose. Call (855) 506-8636. We answer 24/7. Fast dispatch from 7am to 7pm, Sunday through Friday.
Frequently Asked Questions
Most homes in North San Jose benefit from professional air duct cleaning every 3 to 5 years, but the right answer comes from observation, not the calendar. Monthly filter checks and semi-annual inspections tell you whether your system is loading faster than average. Wildfire smoke years, renovations, and new equipment installations shorten the interval. If your monthly observations show stable filter loading and no moisture indicators, you can safely run to the long end of the range.
Look for four specific indicators: visible dust reaccumulating on furniture within days of cleaning, a return filter that loads heavily in one corner or quadrant rather than evenly, a musty smell that appears when the blower starts and fades within minutes, or airflow from far registers that’s noticeably weaker than near ones. None of these requires trusting a sales pitch; all are things you can observe yourself in ten minutes. If you don’t see them, you probably don’t need service yet.
Normal dust is dry, gray or tan, and brushes off a register face easily. Mold-risk indicators are dark (black, green, or brown), damp or tacky to the touch, smear when wiped, and reappear in the same spot after cleaning. Mold indicators also tend to appear as a ring around the register opening on the ceiling or wall, not just on the register itself. In North San Jose, bathrooms and kitchens are the most common locations because they introduce the most humidity into the air stream.
A shop vac at a register opening removes loose surface dust within a few feet of the opening. It does not dislodge the adhered layer of debris that builds up on duct walls over years, and it does not create the negative air pressure needed to capture what it does dislodge. That adhered layer is where moisture gets trapped and where airflow restriction develops. Professional rotary-brush agitation paired with HEPA-rated negative-air capture is a fundamentally different process. The equipment matters because the result is different, not just faster.
Yes, you should at minimum inspect them. Wildfire smoke particulate is fine enough to bypass standard filters and deposit deep inside duct runs, on blower wheels, and on coil surfaces. One severe smoke season can load a system with as much accumulation as several normal years. If your filter was dark gray or brown when you changed it mid-season, the ducts likely took a proportional share of loading. An inspection after a bad smoke year is justified even if you’re inside your normal service window.
Air duct cleaning is priced per job by the written estimate, and the estimate depends on system size, accessibility, and what the inspection finds. We don’t price by the vent, because that model creates exactly the bait-and-switch incentive that this industry is known for. You get one flat price for the system before work starts, and the price on the written estimate is the price you pay. Call (855) 506-8636 for an exact quote. Estimates are free.
The Bottom Line
A maintenance checklist for air ducts is a monitoring system, not a schedule. Run the monthly five-minute check: filter pattern, three supply registers, startup sound. Run the semi-annual inspection when cooling and heating seasons change. Log everything after a professional service so the next decision has a baseline. Watch for the North San Jose triggers: wildfire smoke, renovation debris, and new HVAC equipment. And when observation points to a problem that needs trained eyes and real equipment, call someone who will show you what’s inside the ducts rather than just tell you they’re dirty.
Written by the team at Elmwood Air Duct Cleaning, serving North San Jose since 2018.
See the difference
 Before
 After
 Before
 After
 Before
 After